
How to Install and Run Cyber-Dome AI Video Generator: Complete Beginner Guide
If you want to create AI videos on your own computer without relying on expensive software, this guide will help you get started step by step. In this post, you will learn how to install Cyber-Dome AI Video Generator, set up Python, open the project correctly, install the required packages, and run your first AI-powered video project without confusion.
This tutorial is written for beginners, so even if you have never used Python before, you can still follow along. If you are also exploring other beginner-friendly coding resources, you can check our Python programming guide for beginners and our list of free web APIs every developer should know.

If you prefer watching the full walkthrough first, you can use the video below and then come back to the written steps whenever you get stuck.
What Is Cyber-Dome AI Video Generator?
Cyber-Dome AI Video Generator is an open-source Python-based tool that helps you create videos with the help of AI. Depending on the project version, it can combine text, visuals, narration, subtitles, and rendered output into a finished video. The main advantage is that you can run it on your own system and learn how the workflow works instead of depending completely on a paid online platform.
It is especially useful for beginners, students, creators, and developers who want to understand how AI video generation works in a practical way. If you are interested in more AI tools for everyday use, read our post on AI tools for students and professionals and how AI is changing education.
GitHub Repository: Cyber-Dome/Cyber-Dome-ai-video-generator
What You Need Before You Start
- A Windows, macOS, or Linux computer
- At least 4 GB RAM, though more is better for smoother performance
- A stable internet connection to download Python and project dependencies
- Enough free storage for packages, assets, and generated output
- Basic patience to follow the steps one by one
You do not need to be an expert programmer. If you can install software and follow commands carefully, you can set this up.
Step 1: Install Python
Cyber-Dome AI Video Generator runs on Python, so this is the first thing you need to install.
- Open the official Python website: python.org/downloads
- Download Python 3.10 or 3.11
- During installation on Windows, make sure you tick Add Python to PATH
- Finish the installation and open Command Prompt or Terminal
- Type
python --versionand press Enter
If Python is installed correctly, you should see a version number on your screen. If it does not work, try python3 --version.
Step 2: Install VS Code
Although you can run Python from the terminal alone, Visual Studio Code makes the setup much easier. It gives you a clean interface, an integrated terminal, and helpful extension support.
- Go to code.visualstudio.com
- Download and install Visual Studio Code
- Open VS Code after installation
- Install the Python extension from Microsoft
If you are new to development tools, VS Code is a good starting point because it is simple, free, and widely used.
Step 3: Download the Project
Now you need the actual Cyber-Dome AI Video Generator files.
You can get them in two ways:
- Download ZIP: Open the GitHub repository, click the Code button, and then choose Download ZIP.
- Clone with Git: If you use Git, run the command below.
git clone https://github.com/Cyber-Dome/Cyber-Dome-ai-video-generator.gitAfter downloading, extract the project into a folder you can easily find, such as your Desktop or Documents folder.
Step 4: Open the Project Folder in VS Code
- Open VS Code
- Click File > Open Folder
- Select the extracted project folder
- Open the terminal inside VS Code
This is where you will run the installation and startup commands.
Step 5: Create a Virtual Environment
This step is optional, but it is strongly recommended. A virtual environment keeps the project dependencies separate from other Python projects on your computer.
# Windows
python -m venv venv
venv\Scripts\activate

# macOS / Linux
python3 -m venv venv
source venv/bin/activate
Once activated, you should see (venv) in the terminal. That means your environment is active.
Step 6: Install Project Requirements
Most Python projects include a requirements.txt file. This file lists the packages the project needs.
pip install -r requirements.txtIf the file is missing in your version of the project, check the GitHub README or project documentation. Some builds may require packages such as OpenCV, MoviePy, Pillow, NumPy, or PyTorch depending on the features included.
If you are exploring beginner project ideas after this setup, you can also see our posts on building a simple ATM simulator in Python and creating a coffee ordering app in Python.
Step 7: Run the AI Video Generator
After installing the dependencies, look for the main file inside the project. In many Python projects, this file is called main.py, but it may vary depending on the version.
python main.pyIf your project uses a different filename, replace main.py with the correct one.
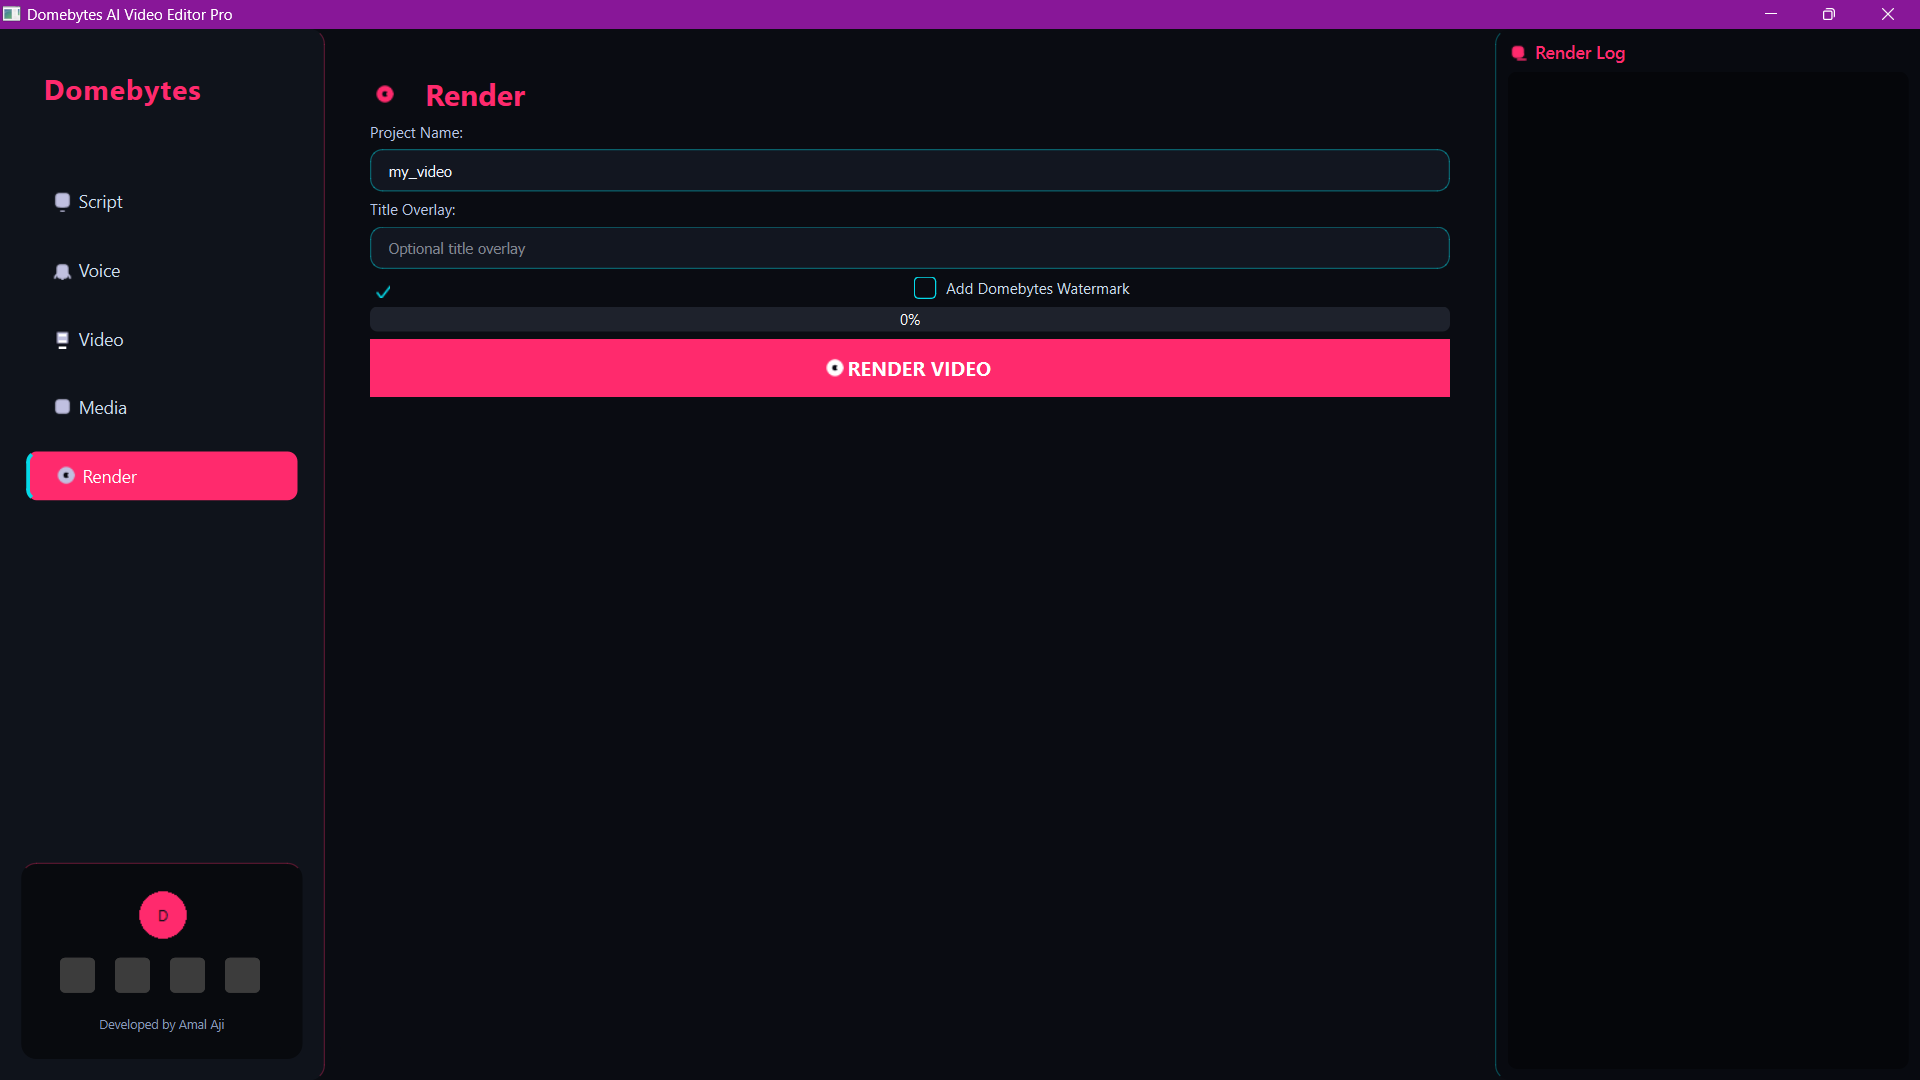
If everything is set up correctly, the tool should open or start running in the terminal. From there, you can begin testing prompts, generating scenes, or creating your first output video.
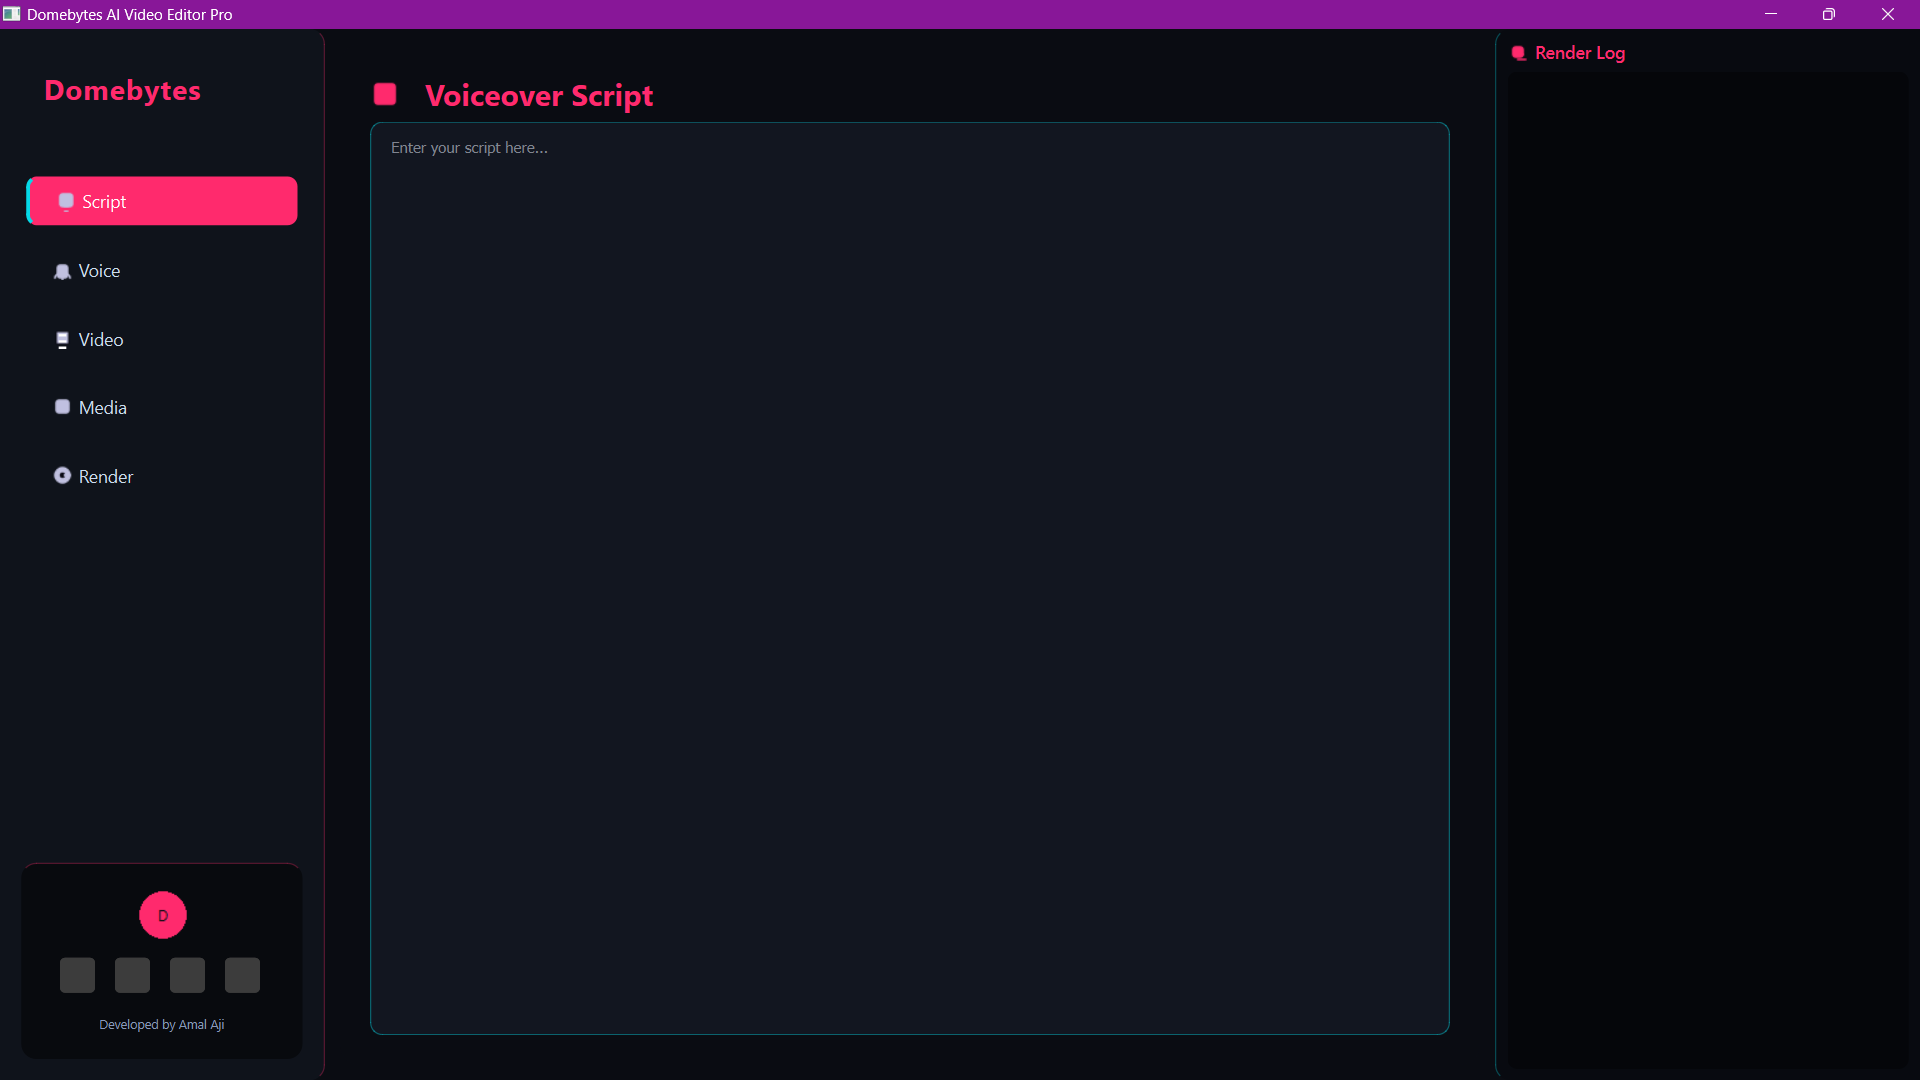
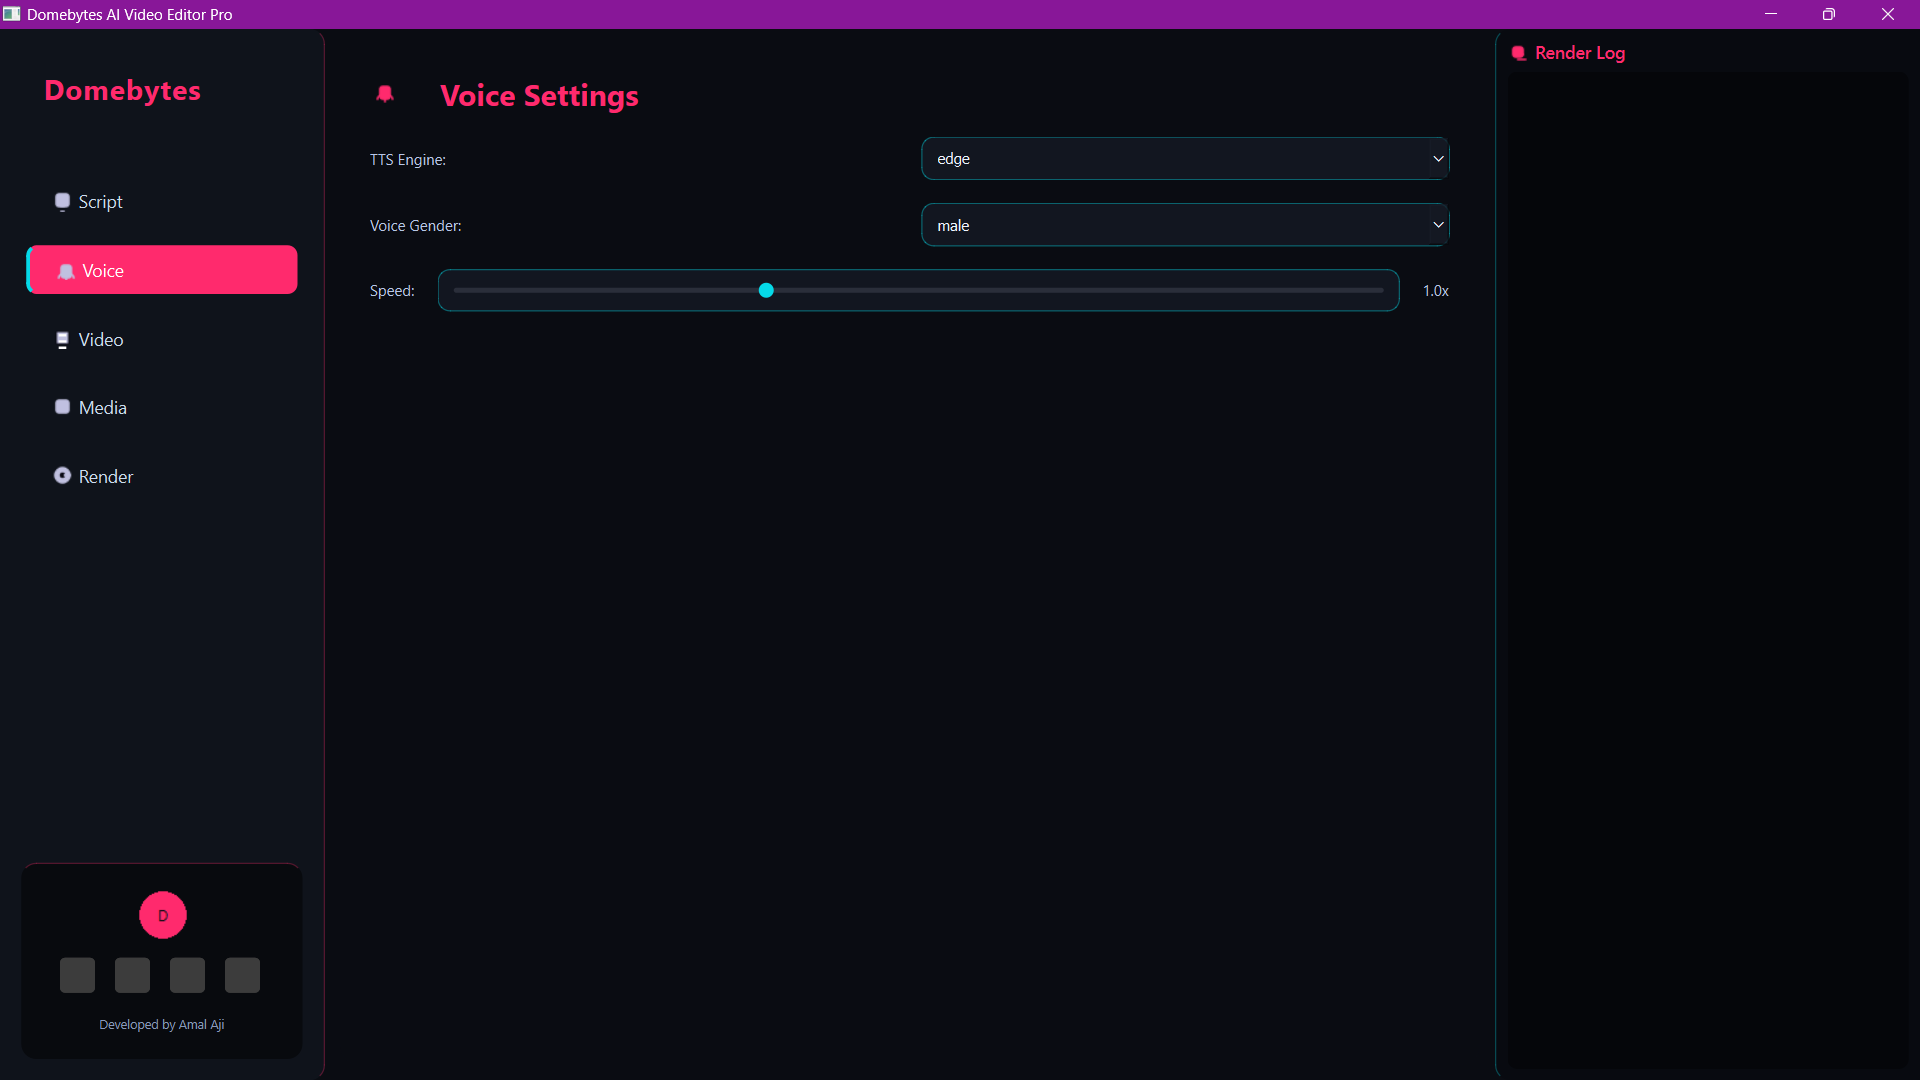
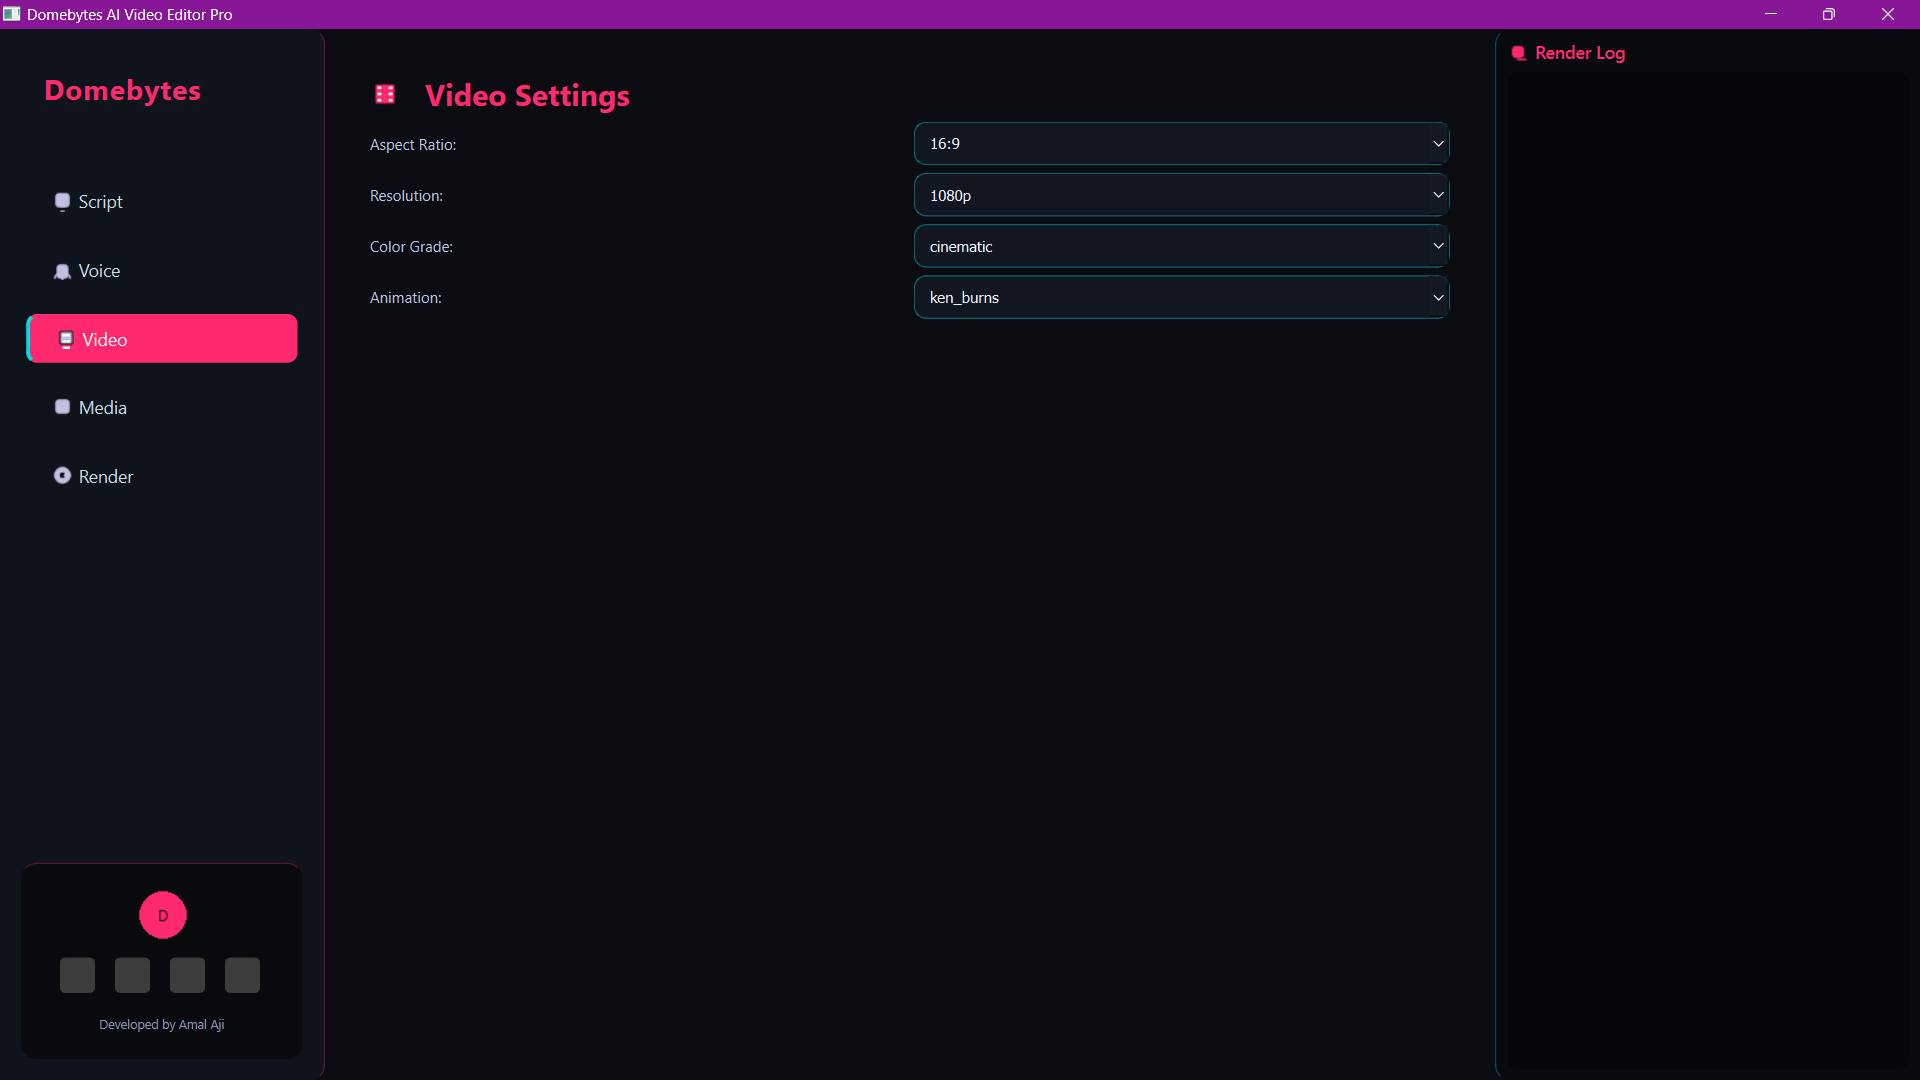
Step 8: Understand the Workflow Before You Generate
Before you click anything, it helps to understand the usual workflow. Most AI video tools follow a simple process:
- Enter a topic, script, or prompt
- Select settings such as style, voice, or duration if available
- Let the tool process the content
- Preview the result
- Export the final video
The exact interface can change as the project improves, but the overall idea stays the same. Learning this flow will make it easier to troubleshoot later.
Common Problems and Simple Fixes
Python Is Not Recognized
This usually means Python was installed without adding it to PATH. Reinstall Python and make sure the PATH option is selected.
pip Is Not Working
Try running:
python -m pip install -r requirements.txtModule Not Found Error
This means one or more required packages are missing. Reinstall the requirements and make sure your virtual environment is activated.
The Tool Feels Slow
AI tools can use a lot of system resources. Close unnecessary apps, free up RAM, and check whether your project supports GPU acceleration.
The App Does Not Start
Check the project README, confirm the correct startup file, and look carefully at the error message shown in the terminal. Most issues come from missing dependencies, wrong Python versions, or incorrect folder paths.
Why This Tool Is Useful for Beginners
Many people want to create AI videos but do not know where to begin. This project is useful because it gives you a hands-on way to learn how AI, Python, media generation, and automation can work together in one practical workflow.
Instead of just using an online tool and clicking buttons, you also learn the setup process, file structure, dependency management, and basic troubleshooting. That makes this project valuable for both creators and beginner developers.
FAQ
Is Cyber-Dome AI Video Generator free to use?
If you are using the open-source version from GitHub, the project itself is generally free to access. However, some optional tools, APIs, or assets you use with it may have separate limits or pricing depending on the service.
Can beginners install this AI video generator?
Yes. This guide is written for beginners. If you follow the steps carefully, you can set it up even without advanced coding knowledge.
Do I need a powerful computer to run it?
A basic computer can still run many Python projects, but performance improves with better RAM, storage, and GPU support. The heavier the AI features, the more system resources you may need.
Which Python version should I use?
Python 3.10 or 3.11 is usually the safest choice for compatibility with many libraries.
Can I use the output videos for YouTube or social media?
That depends on the assets, music, images, voice tools, and licenses used in your workflow. Always make sure you have the right to use every part of the generated content before publishing it publicly.
Final Thoughts
Cyber-Dome AI Video Generator is a useful project for anyone who wants to learn AI video creation in a practical way. Once you get through the setup, the rest becomes much easier. The main thing is to go step by step and not panic if you hit a small error. Most setup problems are easy to fix once you know where to look.
If you are interested in more developer and AI content, you can also read how to use AI for business, Mastering Python, and whether ChatGPT is replacing search engines.
